View allAll Photos Tagged Homemade
Homemade Pizza
100x: The 2015 Edition 1/100
x = Macro Food Photography
Pizza Dough Recipe by Laura Vitale (on the COOKING CHANNEL)
www.cookingchanneltv.com/recipes/laura-vitale/lauras-basi...
VIDEO: Pizza Dough Recipe by Laura Vitale (on the COOKING CHANNEL)
www.cookingchanneltv.com/recipes/laura-vitale/lauras-basi...
Will be posting this recipe on my savory food blog, sometimes SAVORY, this month.
Also, for those with a sweet tooth, visit my dessert blog, Baking is my Zen, for recipes.
... this is my first homemade namachoco (ganache). :)
i made it as an earl grey flavor namachoco. but i did not feel the tea flavor though i tasted. it was sweet and yummy but failure. :( i need more stronger tea flavor in it. i have to make it again..
homemade pudding... chocolate pudding :) with 60% scharffenberger chocolate...
Thank you for all your comments and the Explore!
Have a great weekend. Thought I would share some banana bread with you to go with your morning coffee!!! My friend is unable to fix my external drive and it will be very costly for me to send it in. I have been able to retrieve most of my photos except anything I took in 2013, which wasn't backed up online. Lesson learned, you need more than 1 backup and make sure to check that it is working correctly!
Copyright© 2013 Kim Hojnacki
This image is protected under the United States and International Copyright laws and may not be downloaded, reproduced, copied, transmitted or manipulated without written permission.
Thin slices of home-cured salmon presented on black slate and accompanied by a lemon wedge. Gravalax or Gravadlax Lax is made by rubbing sides of fresh whole salmon with a mixture of crushed pepper, dill, sea salt and sugar (sometimes juniper is also added) then leaving to cure for three days. The result is a delectable and succulent preserved fish, needing only a squeeze of fresh lemon to accompany it. Presented on an old roofing slate — I love the colour contrast between the textured black slate and the rich pink salmon. A fallen birch tree provided some beautiful paper-thin bark to wrap a candle holder, and some reindeer moss, cranberries and ivy add to the Nordic feel of the shot.
Olympus PEN-FT
F.Zuiko Auto-S 1.8/38mm
Fomapan 100 Classic
ars-imago #9 1+50 9min @20° in Kaiser Tank
DSLR Scan
NegativeLab Pro
Preparing a batch of home flavoured alcohol so it will be ready in time for Christmas.
This limoncello was made using:
2 Litres of 40% (80% Proof) Vodka
10 Lemons
1 litre of water
700g of castor sugar
Step 1.
The zest of 10 lemons was removed using a cheese grator. Be careful not to take the white pith with it as it will add a bitter aftertaste.
Add to 2 litres of vodka in sterilised jars.
Seal and shake once a day for at least a week.
Step 2.
Heat the water in a pan with the sugar until it is dissolved. Allow to cool then add to the vodka/lemon mix.
Step 3.
After a further week strain the liquid into sterilised decorative bottles using muslin cloth.
Chill in the fridge (or if you use less water then it can go in the freezer).
Tastes very nice if added to a glass of prosecco! (1 part limoncello to 3 parts Prosecco).
We learned to make them over 75 years ago. It was always fun for us kids to taste the filling and run the cutting wheel .
My daughter and her friend made these for me yesterday for my birthday and they are YUMMY! They won't last long around my house. In fact, right after I took this photo one of them mysteriously disappeared...
I know I already told you all about my boyfriend's band and the videoclip we did, but now that I took some good pictures of them I'll show you all their work and I hope you enjoy it. The name of the band is Homemade Blockbuster and it's from our city called Curitiba (you say curytcheeba HAHA) their music is like summer during our cold winter, made to warm you your hearts up hahaha sooo turn your sound on and enjoy :}
Wanna watch the video clip? Click here to watch Heartlights - homemade blockbuster!
Click here to go to their FACEBOOK page
wanna hear their other songs?have fun clickin here :)
oh well, i'm here talking about them so i'll show you all the great work of their bassist, he does some great illustrations, do not close this page without taking a look at it. Say hi to Marcelo Flieder's flickr :)
and if you really enjoy his work and would like to ask for some here is his contact:
typeoramachannel@gmail.com
I made these for my parents :-)
These are a kind of traditional Japanese cake called Nerikiri which is made with shiratama flour, sugar, and white/red bean jam.
The latest experimental baking project: “Pop-Tarts”. I made two varieties, these filled with homemade strawberry-rhubarb jam, and another with a chocolate crust filled with Nutella (and attempting to mimic store-bought strawberry and chocolate Pop-Tarts, at least visually.)
I don't think I've gotten a crust that I'm happy with yet. Regular Pop-Tart crust is like dry pie crust, and I didn't want to go that route, but I figured that the crust needed to be a bit stronger than pie crust typically is. This time around, I tried an egg, but that doesn't appear to be the right answer, as the crust was too firm instead (albeit still tastier than stock Pop-Tart crust). I think that part of the problem was that I figured the extra fat in the egg would compensate for the extra liquid in the egg, but given the gluten that formed in the resulting dough, I think I figured wrong. The recipe below is as I prepped things last night; next time I'll probably drop the egg but add a little extra liquid and some vegetable shortening to keep a 3 part flour : 2 part fat : 1 part liquid ratio. The amounts here make about 6 pastries per recipe.
After setting up a bunch of shots in the kitchen this morning (and then eating the subject matter), I realized I didn't really get any good shots of the Nutella variety, but I'll include the recipe here for completeness’ sake, along with the recipe for the strawberry-rhubarb jam.
I shot these indoors despite a lot of good light outside, because my original thought was to get a few of them with the toaster in the background, and my mirror-finish toaster would not exactly work well outside. I ended up not liking any of the compositions in the shots I set up that way, unfortunately.
Ingredients
Strawberry-Rhubarb Jam
14 oz. rhubarb, diced
1 lb. 6 oz. strawberries, hulled and diced
1 lb. 4 oz. sugar
juice and zest of 1/2 lemon
3 tbl. balsamic vinegar
pinch salt
few grinds of black pepper
Pop-Tart Crust
8 oz. all-purpose flour
1/8 tsp. salt
1 tbl. sugar
4 oz. cold butter, cut into cubes
1 egg
1 oz. ice water
1 oz. chilled vodka
Chocolate Pop-Tart Crust
7.5 oz. all-purpose flour
0.5 oz. dutch-process cocoa powder
1/8 tsp. salt
2 tbl. sugar
4 oz. cold butter, cut into cubes
1 egg
2 oz. chilled Frangelico liqueur
Pop-Tart Frosting
1 c. confectioner's sugar
milk
Chocolate Pop-Tart Frosting
1 c. confectioner's sugar
1 tbl. dutch-process cocoa powder
Frangelico
Directions
To make the jam
Combine all of the ingredients in a large pot and allow to sit until a good amount of juice comes out of the berries and soaks the sugar. Mash the berries with a potato masher. Cook over medium-high heat, stirring frequently, until the mixture gels when a small amount is placed on a cold plate (mixture will be measure 220°F on a thermometer). Portion into containers and allow to cool, makes about 3 cups.
To make the Pop-Tart Crust
Combine the dry ingredients in a food processor and pulse to combine. Add the cubes of butter, and give 10-12 one second pulses, to cut the butter in. You should have pieces of butter about the size of small peas. Sprinkle the liquid ingredients over the mixture, and pulse just a few times to distribute. Pour onto plastic wrap, form into a small disc, and refrigerate at least one hour.
To make the Pop-Tarts
Preheat your oven to 325°F.
Roll out your dough very thin (I used some 2mm rolling pin spacers, and even that ended up baking a little thick). Cut into 3"x4.5" rectangles. Spread about 1-2 tbl. of the filling out in the middle of a rectangle, leaving the outer 1/3" or thereabouts clear. Brush an egg wash or some water on the outer border, lay on another rectangle of dough, and press the edges to seal (I used a straightedge to do the pressing). Puncture the top several times with a skewer, and transfer to a parchment- or Silpat-lined baking sheet. Store completed tarts in the refrigerator as you work.
Bake for 25 minutes, until the dough is cooked through and set up but not really browned much on the top. Remove to a cooling rack.
To frost the Pop-Tarts
Add just enough liquid to the sugar (and optional cocoa) to make a thick glaze (work just a tiny bit at a time; it doesn't take much liquid at all do do this, usually less than a tablespoon). Spread the glaze out over the cooled pastries. If you like, decorate with some colored sugar (I used raw sugar on the chocolate version), since that's similar to what Kellogg's does. Or not.
My only observation on the frosting is that this glaze is pretty obviously not what's on an actual Pop-Tart. I actually had some stuck-on residue catch fire in my toaster (wee little fire, but still, use caution.) I have a slotted toaster whose "baskets" close in on the pastry, which results in residue like this. Toaster ovens and slot toasters that don't do this will probably be fine, but pay attention if you do toast these.
You see a lot more homemade political signs for Donald Trump than Hillary Clinton. This one is just before the welcome sign for the town of Live Oak, California.
Much nicer viewing: F11, and then:
farm8.staticflickr.com/7576/15942166136_b5b838532a_o.jpg
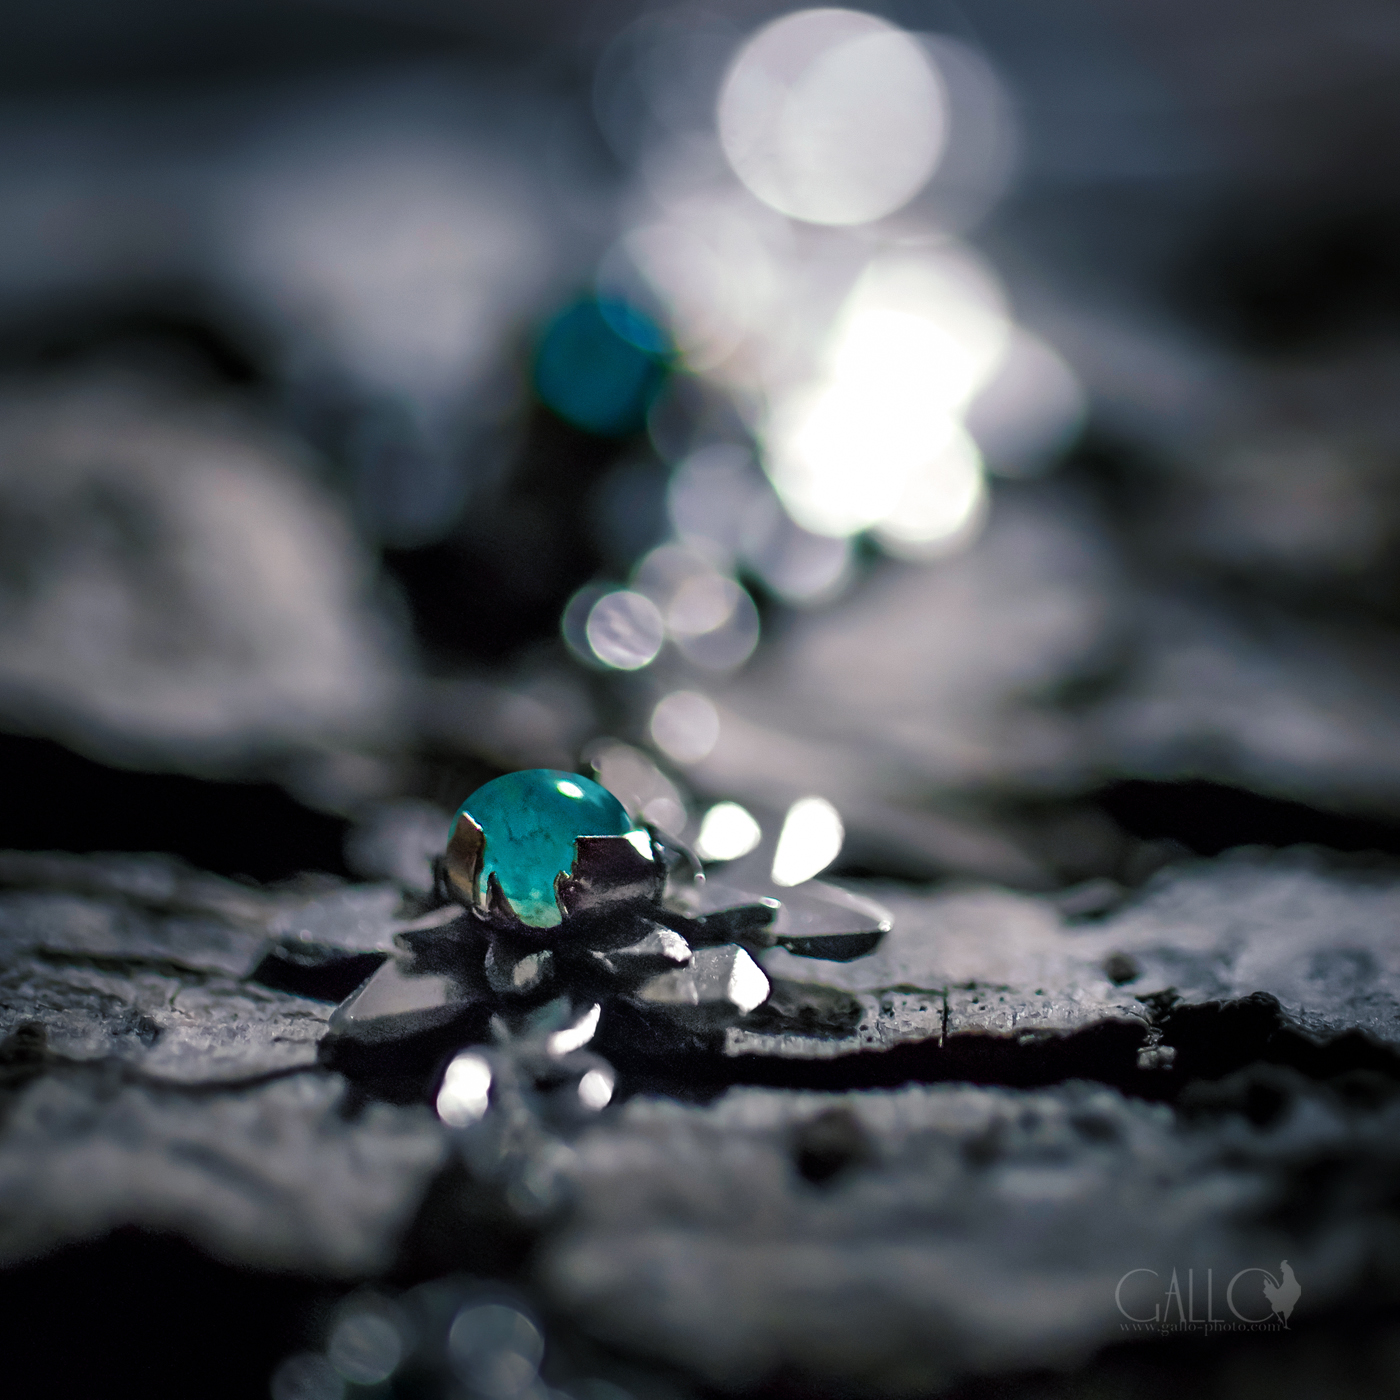
Shooting homemade jewelry for a colleague of mine. Light: a little halogen lamp (from Ikea), light former, well not a softening light fromer, but a little cardboard with lots of cut-outs ... acting as a gobo. This gives the nice light speckles.
--
Tilo ~gallo~ Gockel