View allAll Photos Tagged Tutorial
Find the free tutorial for making these sweet painted drawer pull toadstools here:
beneaththerowantree.blogspot.com/2010/05/magical-little-m...
Tutorial for an old build with minor updates. Re-photographed and edited.
Also availible on youtube
www.youtube.com/watch?v=CUJye1Ns3PQ
Designed with Lego Digital Designer (LDD)
Music
Texas Techno by Audionautix is licensed under a Creative Commons Attribution license (creativecommons.org/licenses/by/4.0/)
Artist: audionautix.com/
Aquí os dejo un tutorial para realizar mediante la técnica de Origami estos bonitos Crane. Si quereis conocer cómo poder combinar estos bonitos "origami crane" pasaros por mi blog:
Espero que os guste!!
Hello all.
I'm gonna share some love. I will soon post a free video tutorial at my blog. I am converting some video.
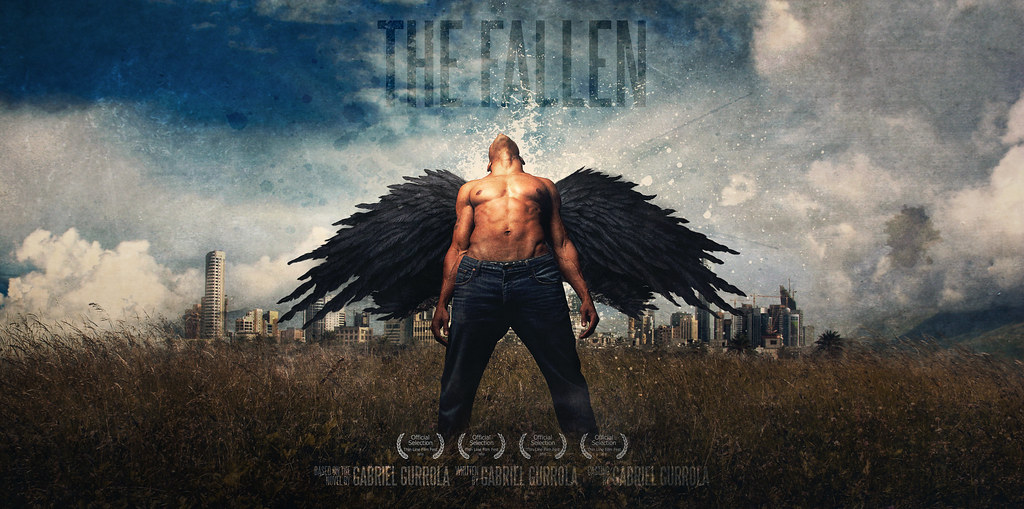
In the mean time, here is my finished version.
This project was just for fun. It is by no means up to my standards. I merely produced this video to share some techniques. Please keep tuned in ;)
Video of Post-Production at my blog www.gurrolaphotography.com
View it Large
Strobist:
1 580ex in a mod Soft Box
This is some sort of tutorial on how I do my brick wall backgrounds. Though scrapbooking papers can give you a very realistic and easy brick background, sometimes I love to make a "real" wall with texture and color.
The wall is made out of styrofoam, the window is made of foamboard.
This is the cut wall with the window cutout and sketched lines for the layout of the bricks. Gigi and Holly are watching closely, Holly cuz she finds it interesting, Gigi taking care I don't make mistakes, of course... ; P
I'm giving this away here.
You can also make one!
Freshly Picked has a great tutorial on making a coin purse.
However, I didn't have oilcloth on hand, so I made mine with quilting cotton, batting and a lining. These are my modifications to her tutorial. Please still refer to her instructions for basic construction technique as my pictures only show how I deviated from her tutorial.
{Tutorial will be posted 1/8/11}
This is some sort of tutorial on how I do my brick wall backgrounds. Though scrapbooking papers can give you a very realistic and easy brick background, sometimes I love to make a "real" wall with texture and color.
The wall is made out of styrofoam, the window is made of foamboard.
While I, myself, see the whole wall making process as one big fun event (though time consuming), this is a part I love especially: giving the bricks a hard time. To make them look aged more I take several objects (like ball tool or anything hard with a irregular molded surface, like a stone or a piece of wood) and make deeper dents and scratches into the foam surface.
Destroyed a bit of a brick while doing so? GREAT! Go on and beat the ... out of it ; ).
Tudo o que precisa:
- 1 retângulo de 27x29cm para a frente do babador (eu fiz um bloquinho usando foundation e juntei uns tecidinhos de borboleta... aqui é a hora de fazer o que der na telha.. um tecidinho bonito também vale!)
- 1 retângulo de 27x29cm para a parte de tras do babador
- 1 retângulo de 27x29cm de contact para plastificar (não mostrado na foto)
- 2 tiras de 5x50cm para amarrar o babador
- linhas e máquina de costura, claro! ;)
Sou apaixonada por guirlanda e esse pap é muito fácil, pode ser feito enquanto se assiste os jogos da copa. Tutorial sugerido por Lindsay
Pode ver a venda aqui no Etsy
Tutorial for a complete remake of my first car posted here on flicker years ago. redesigned from the bottom up but using the same idea of a 5 wide midsection.
Also availible on youtube
Designed with Lego Digital Designer (LDD)
Music
JR Tundra - Bar Crawl
I used the above measurements for a 2 1/2 inch ruler.. The smaller sizes would have to be done with measurements other than 1/2 inches.
So dies sind die letzten Arbeiten vor Weihnachten ;O))) So this are the last works before Christmas ;O)))
UPDATE - SEPT. 17, 2018:
Here's a youtube link to a short video I've made for a tutorial on Multiplicity, please watch :)
@@@@@@@@@@@@@@@@@@@@@@@@@@@@@
A friend, Hsing-Ning, asked me to teach her how to do multiplicity , so here it is.
I'm still a beginner, and therefore don't claim to know it all..
I will be more than happy to hear comments & suggestions on how to do it better :)
****************************************************************************
First you have to figure out a certain place as your setting and visualize your poses, making sure all of you (you & your clones that is ) are included in the frame.
Mount your camera on a tripod, or if you don't have one , use anything that would be steady enough for your camera. Now you're ready, shoot!
That sounds easy ?
Ok...now it's time for the real work! :)
(I used PhotoPlus btw )
***Update: Don't bother with clicking the eye on & off, doesn't make any difference :)
I've had many people ask me how I transfer my original artwork to polymer clay. Just listed in my Etsy shop...A very basic tutorial of a very basic image transfer technique. This 8-page tutorial is the first part of my more extensive tutorial coming soon, ''Mixed Media Techniques on Polymer Clay.'' Listed at only $1, this new mini-tute is ALMOST FREE! (Etsy won't let me list it for free...they need to get their cut. ;) ) www.wiredorchid.com
Followed Dubtastics tutorial - and stock photo used in his tutoral. A couple textures from www.flickr.com/photos/soufwes/sets/72157605330641535/
and a few that I had. Dont be critical !!! - it was my first try with a tutorial this indepth and was using PS Elements.
Today I have two tutorials for you guys - for a geometric pillowcase with a quotation and a tutorial for a small organiser (for makeup brushes, crochet hooks, pencils.. etc.).
{marysza.blogspot.com/2015/04/geometric-pillow-tutorial.html}
( Click "ALL SIZES" to download the full-sized jpeg )
I've had a few emails now about how I take my photos. Now, I'm not a photography expert. I mean, I'm really, really, really not a photography expert. I don't even know what apeture means, and my camera is a point-and-shoot model. The things I do know, I've learnt from reading how-to's on the 'net, and so I thought I'd share with you the number one thing that I use when I take photos:
My light box.
Those things can be expensive (you're looking at about $100-$300 dollars for a store-bought one), so I decided to make my own. Basically it's just a box that you put your object into, shine light at it, and snap away. Couldn't be easier, right? And the best thing about my light box is it costs less than $15!
This is my very first tutorial, and I hope you find it useful (and comprehensible! I worry about how readable the explanation cards are - you'll have to give me some feedback on that, since this is the first tutorial I've ever made, I'm fairly new to the process.)
See detailed breakdowns for each of these models in the latest guide on Brickbuilt.
Tutorials | Creations | Featured Tutorials | Build Logs | Commissions
I'm using realclay pots and add a piece of styrodur to put the stem into.
(This tutorial was greatly inspired by Sandra's tutorial posted here and on her lovely blog bonequea.com. Go check it out, if you haven't already seen it : )!)
Probably the model I have recieved the most positive feedback on. The only thing I changed on this one is the exhaust mounts. Otherwise it remains as I originally put it together.
Also availible on youtube
Designed with Lego Digital Designer (LDD)
Music
Bird Creek - Hooky with Sloane
Dan Lebowitz - Still Want It
tutorial para tejer con la hebra por delante! ideal para pelo de kokeshis & stuff
Aquì el video en HD ^^
My first tutorial and 1st blog post also. Enjoy.
www.creativepolymerartcenter.com/2011/09/brandown-name-st...
Here is an easy Tutorial you can use to get this effect. The subject here is one of my favorite models, Granddaughter Ashley.
1 Open the tree pic. Check the levels so it has contrast, but not too much.
2, Put your face pic on top of the Background Tree image. Go to
image...adjustments...desaturate...(this will make the pic
b/w)
3. Move the picture on the top of the tree layer.
4. Press Ctrl+T to get the Free Transform Tool, adjust the size and position of the pic.
5, Open the layer Mask and with a soft brush eliminate the parts of the picture that you don´t want by brushing it with the black color.
6. Change the blend mode to overlay. opacity 100%.
7.Duplicate this layer, but change blend mode to hard light, 70% opacity.
8. Finally go back to the Background image you started with and duplicate this layer. Move the new duplicated layer to the top of the Layers. This, of course will wipe out all your work but all you need to do is to change the blend j of this layer to Screen or Soft Light and lower the opacity to about 40 to 60%. This step puts the bark back over the face. Your own taste will dictate how low to make the opacity here.
If you are one of the purists, you might want to put the warp tool on the face layer and bring the top corners down, and the bottom corners up, just a tad to get the rounded look.
Looks like you can skip step 3, didn't realize I had that in twice.
Here is an alternative if copying the entire background layer makes your image too dark. Go to the background Layer and select just the tree trunk, and press CTRL J which puts the selection on a new layer. Then move this layer over to the top and make the adjustments in step 8.
All the Photoshop Tutorials are Here