View allAll Photos Tagged racking
oops, the perl.org rack is almost full ... (we could use a couple of new 1U servers though)
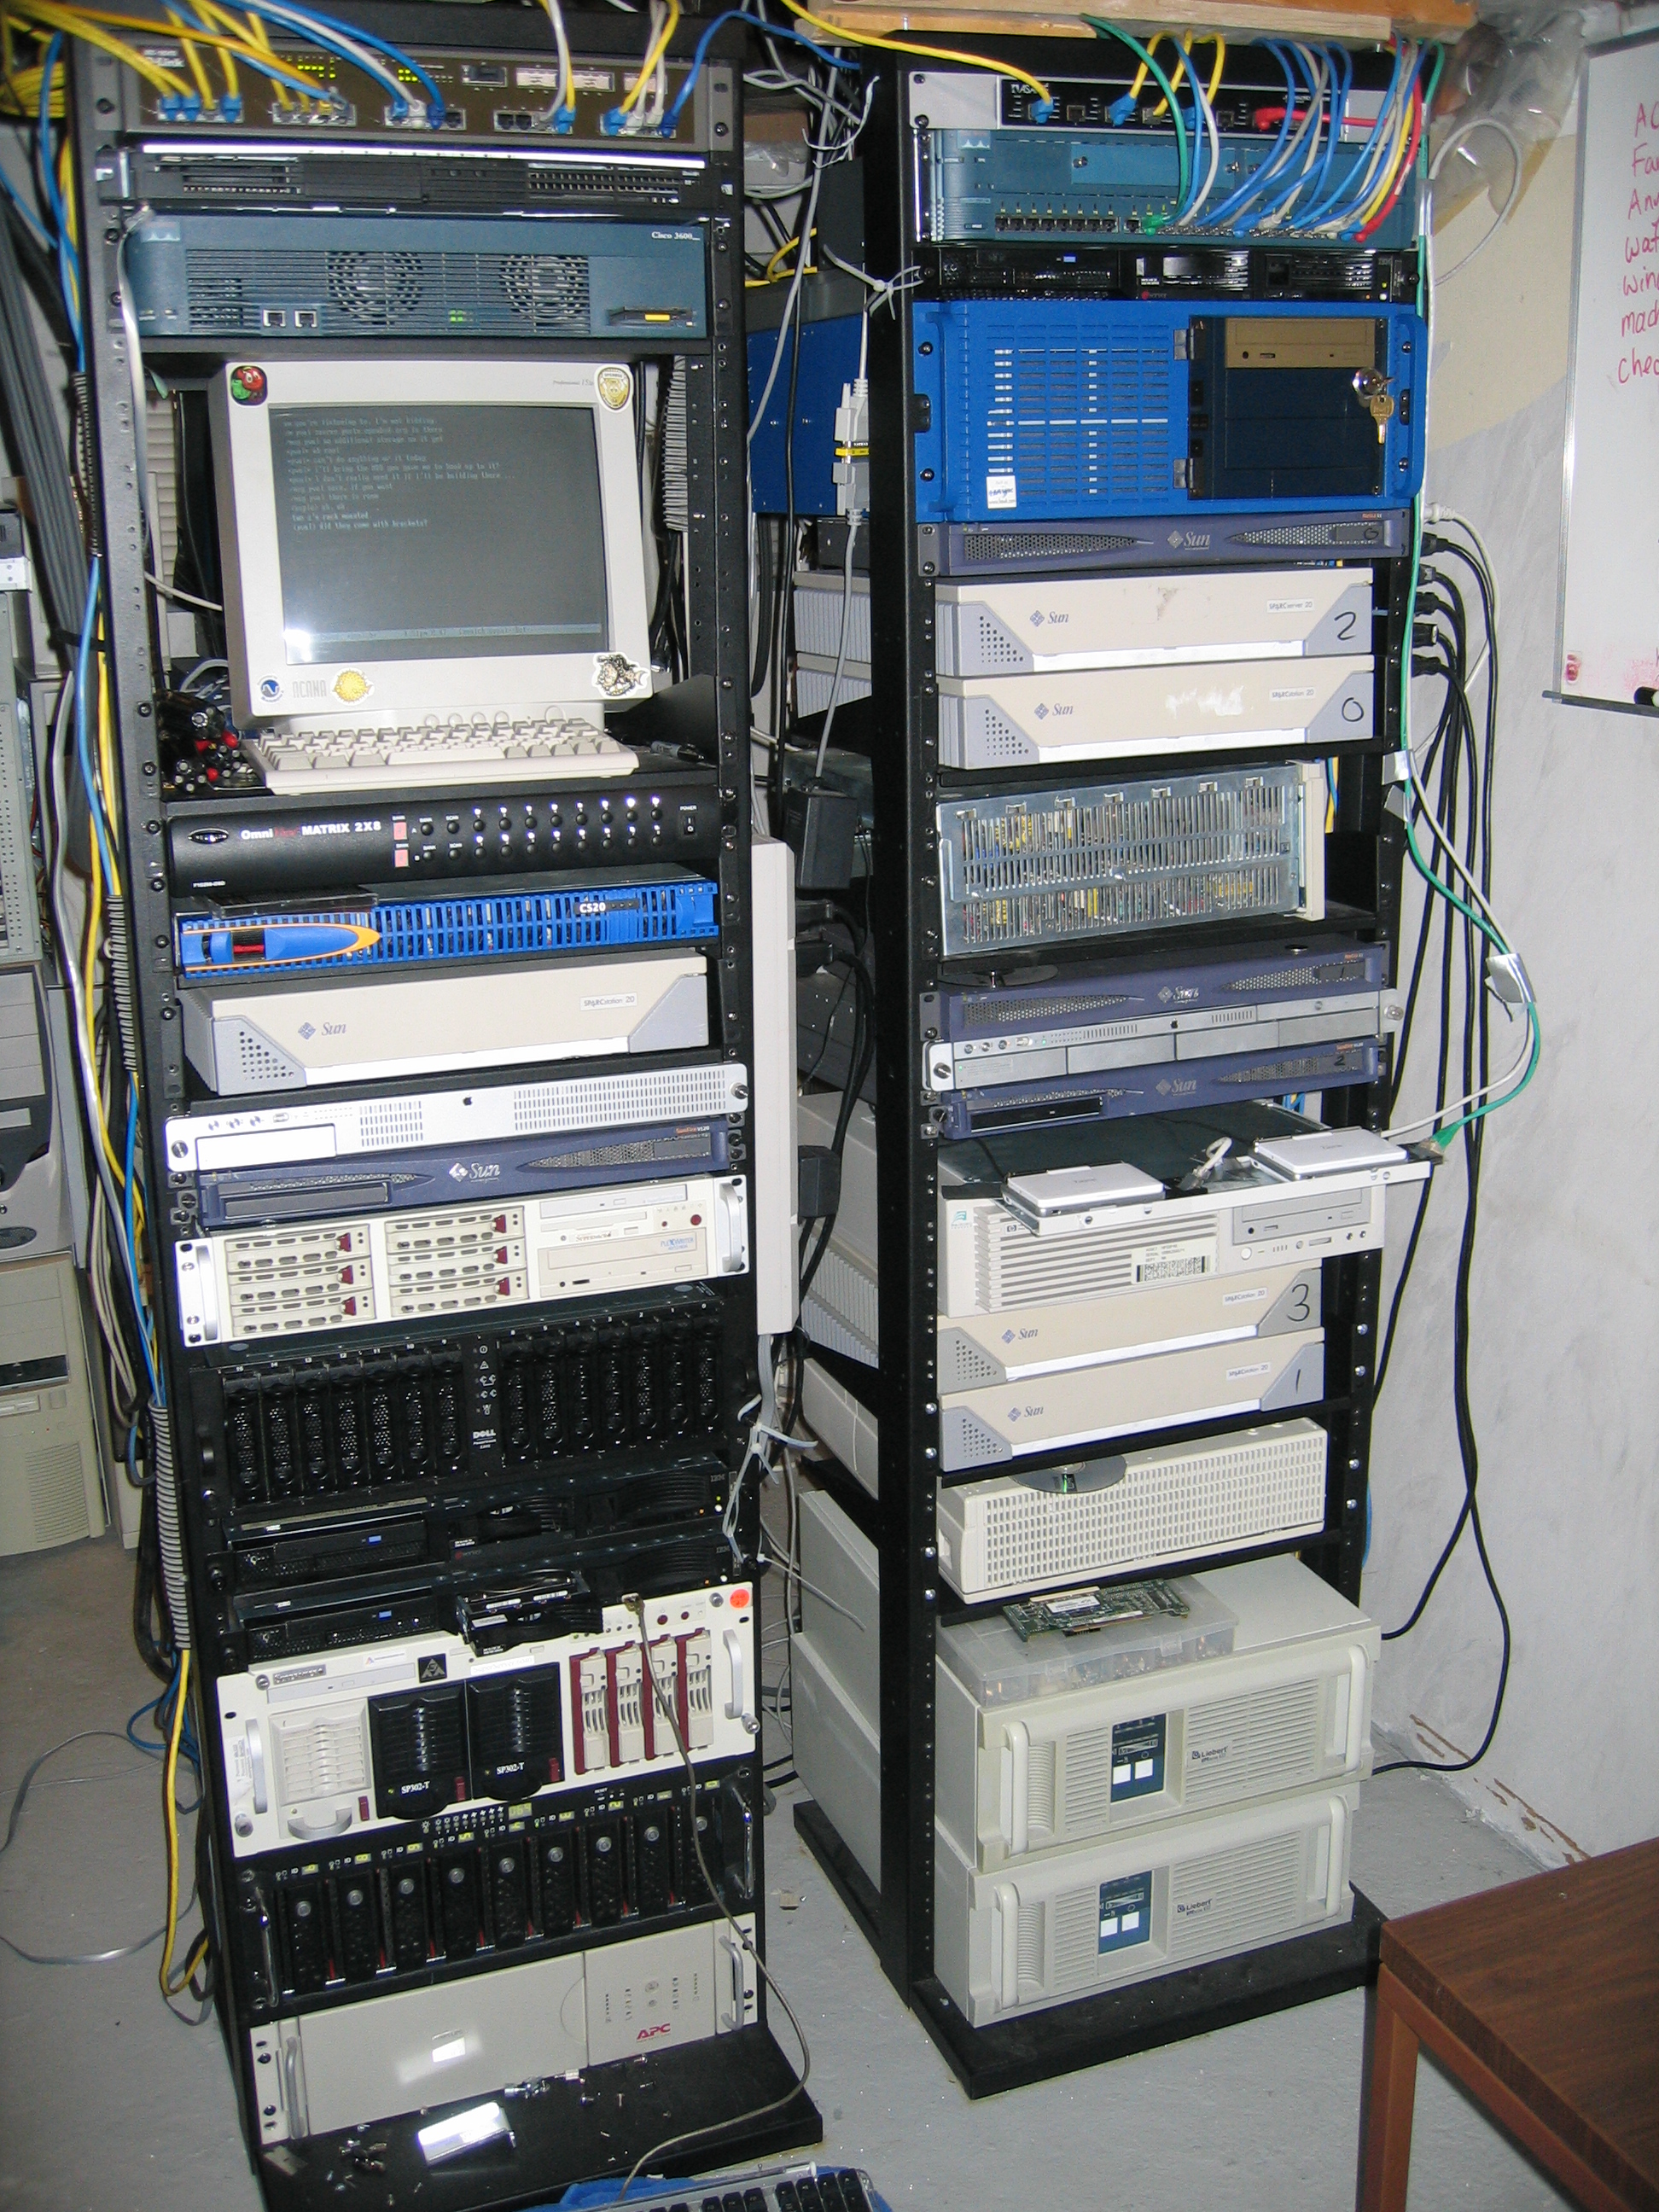
there are also a couple of switches on the other side and some fancy power distribution units hidden inside.
update february 2005: we now have 17 servers in the rack.
Ecco il mio piccolo rack casalingo!
Rack Madness è un termine preso in prestito da www.OpenBSD.org; non riuscirò mai a realizzare un rack al loro livello ;)
All'appello mancano: il mio adorato Apple PowerBook G4 12" con OS X 10.4, un pc Celeron 2,5 Ghz con Fedora Core 4, ed il vecchio portatile PIII 700Mhz con Fedora Core 3.
You can see the "original" Rack Madness" on www.openbsd.org/images/newrack.jpg
The racks are made from chromoly, are hand polished and chromed. The front light is a Luxos, by Busch & Muller, and is one of the brightest on the market. The lights front are rear are powered by the front generator hub.
the bag I ordered at nahbs arrived. Just like I expected it to be. Navyblue with a reflective section. The bailey works folks were nice enough to make one for me as I wanted it. It fits the nitto mini rack exactly.
When I took my latest rack out of the jig and bolted it to a fork to fit the fork crown stay I discovered that the thing was not even close to level (exhibit A: this picture). I'd been having some trouble adjusting the old fork leg stay jig (a threaded rod brazed to a steel plate with a scribed centerline so I could line it up with the fork jig before clamping it into place) and this time around it fell /wildly/ out of place.
So it was time for a replacement; a section of 8020's smaller sibling, drilled crosswise to press-fit a section of threaded quarter-inch tubing, then drilled front to back to fit a couple of m6 bolts which are locked into place with a pair of brake shoe nuts.
It still needs a little alignment (the m6 bolt is a tiny bit narrower than the slot in the 8020, so I'll need to fabricate a couple of keel pieces to fit between the two chunks of aluminum) and I might want to braze a couple of diagonal braces to keep me from accidentally knocking the stubs of the tubing out of line but even as it is it's much more robust than the stay jigs I was using for the last 70 or so racks that have staggered out of my basement.
How not to ship a 200.000 euro Netapp filer cluster. Minimal padding, harddisks and components still in the rack. No shock absorbing of any kind. I wonder how many disks are broken. Damaged power cable.
I like to build racks by fixing the deck in it's required location in 3D space, and then join the necessary struts to it.
Anyone who has ever built a rack has tried positioning the rack deck using toe straps, shop rags, electrical tape etc, etc (I know that I have). It's a pretty unsatisfactory (speaking for myself) and painstaking way to to do it, you're always checking and re-checking the racks position and level-ness.
A few years ago I came up with this, www.flickr.com/photos/duncancycles/3600946126/in/set-7215...
which worked ok but was time consuming to set up.
This new jig is an idea I've been thinking about for a while, and I finally got a chance to make it. Setting up the position for this test rack deck was much quicker than the old way, only a couple of minutes, so initial impressions are positive.
After my el cheapo aluminum Axiom Journey rack broke in four welds and sheared one spar, I installed a Tubus Airy. I chose the Airy because it's very strong and light, with Tubus' extender adapter it clears my 700c wheel and fender, and it attaches to the brake bridge. The MMD lacks upper seat stay brazeons.
me + roommates = many bikes which necessitate an entire bike rack.
I used 1/2" for the skinny road bikes and 3/8" for the mtbs.
A rare rack of lamb cooked to tender perfection after being gently marinated in garlic and freshly picked rosemary from the local park.
Right view of racked NL-Series nodes: scale-out NAS hardware product. Photo taken May 2013. More information: www.emc.com/storage/isilon/platform-nodes-accelerators.htm