View allAll Photos Tagged Intuos
My work 13" MacBook Pro and its Cintiq 22HD, flanked by my Samsung Smart PC Pro (XE700T1C) and iPad. Funny to think that the Samsung and the Cintiq have the same screen resolution.
GTA V is amazing in the sense that you can just explore if you want too. But it really bothered me that your characters are stuck with a 'preset' clothes inventory. If you want to go to the beach, Micheal is the only one that even has anything close to beach wear and you can't take the shoes off on any of them other then Micheal, and that is an 'outfit' as well. Being new to the GTA franchise, I was really surprised at what I saw on my screen. I recently found out that you can 'mod' this game, so I started my research.
I decided to create some beach shorts for Franklin. Since he is the youngest, it only seems right that he should have something to wear to the beach or just to be casual. This is my first attempt. I should add that I have created other mods for other games, so I am not new to the process. The trick is finding the right tools and to learn them. I also have experience in graphic design and enjoy creating textures for my games.
TOOLS:
Open IV: by Rage Research. I am not familiar with them, but the tool set works nicely. A bit of a learning curve but if you take your time and get it set up correctly, it works quite nicely.
Outfit Selector 1.0: by ricci07. Again, not familiar with this author, but his application does work, all be it a bit tricky to use. This allowed me to let Franklin go barefoot, and select other clothing items in his preset inventory to make outfits you can't make in game.
Photoshop and Illustrator CS6: A bit out dated, but my primary applications for projects like this. I will say that anyone can use 'GIMP' and get the same results. I believe that GIMP is now just as powerful as Photoshop and best part is, it's free.
Waccom Intuos Pro tablet, Large: If you can get a tablet, get one. Trying to do art work with a mouse can be frustrating.
This is a work in progress. I used part of the default 'boxer' texture for the wrinkles and folds (saved me some time) and then built everything else up from there. Using my library of fabric textures, I chose the white parachute ripstop nylon texture as my base. Then
worked on mimicking some sheer value on the shorts shell and creating the liner brief underneath so it would show slightly. I also drew in the stitching for the seams. Unfortunately, the base mesh (default boxers) has buttons on the front and I have to find a way to hide those from showing too much. Total work time for this project so far, ten hours.
I still have to find out what the process is for creating 'normals' mapping and 'sheen or specular' mapping and am researching that now. The screenshot here was using the default normals map. Still have a ways to go, but not to bad for my first attempt at a texture mod for GTA V. Comments, suggestions or questions are welcome and I hope you enjoy what you see here.
Image taken for a client early May 2013. House to be rented to students fully furnished.
Image is a blend of 3 - 8 images, initially blended using EnfuseGUI Lightroom plugin, then manually tweaked and further blended in Photoshop CS4 using masks & a Wacom Intuos 3 tablet.
As i mentioned at the turn of the year i would be putting more effort into seascape and architectural long exposures and trying to get better at not only the shooting side but also the processing side. Ive been out quite a few times and have a few shots that im working on at the minute. Last Thursday i had a check of the tides for Friday and high tide was at 2pm which was handy as i work near Seaton Sluice and finish work at 1.30. I had intended to go to the Tank Defence blocks in my previous shot but didnt think the tide would be high enough so made the decision to go to the Sluice at the Southern end of the beach near Old Hartley. I had been here just the week before but wasnt happy with my shots.
Upon arrival i was amazed at how high the tide was compared to my last high tide visit and a bit worried as the sea was rather lively! The waves were crashing into this wall and coming over and also there were big swells coming towards the concrete section i was standing on that looked like they would breach. I kept well back and stuck my Sigma 17-70 on and proceeded to take many long exposures of both this wall and the groyne to the left of me (shown in the description).
In this 6 minute odd exposure i used my Hoya ND64 (6 Stop) & Hoya NDX400 (8.6 Stop) stacked to try and flatten out the water and get some nice streaks in the clouds which were moving pretty slowly.
Processing wise i opened the shot in Camera Raw, added a grad to the sky then a grad to the foreground to lighten. I literally couldve posted it like that but as ive recently bought the Wacom Intuos 5 i had a mess about with that and some layer adjustments.
You gotta love this beach... theres so much to shoot at any tide :D
I discovered that pasting a sheet of card over the working area of my Wacom tablet increases the resistance on the tip of the stylus, making it much easier to draw accurately. After experimenting with all sorts of paper, the best type turned out to be laser printer/copy card - this sheet has taken eight months of punishment and is still going strong. Even good-quality Bristol board wears through in a few weeks.
New toy. Easier (and faster) to find this Intuos than a replacement for my now dead Cintiq pen. It feels like to find an old friend again... full on steroids (my first Wacom was an Intuos3).
Image digitally blended using at least 3 images as the light was awful at this time of day (early morning). Blending done using Enfuse LR plugin to begin with, then refined manually in Photoshop where necessary.
View full (original) size for optimum quality.
I've elevated my 9x12" Intuos tablet with a simple binder. The cord fits nicely through the binder loops to keep my desk area clean! The elevation helps alleviate arm cramps when working on a flat surface
Camera: Nikon D300
Lens: Tokina 11-16mm f/2.8 AT-X
Filters: Hoya R72 IR filter (77mm)
Focal Length: at 11mm
Exposure: Bulb/ 3.2 sec
Aperture: f/3.2
WB: Preset
ISO Speed: 200
Tripod: Manfrotto
Ballhead: Manfrotto
Remote Cord/Release: MC-DC1 Remote Release Cord (1 meter)
Location: Bahrain
Dedicated to my Dad.
Image digitally blended using at least 3 images as the light was awful at this time of day (early morning). Blending done using Enfuse LR plugin to begin with, then refined manually in Photoshop where necessary.
The red one (Evo 9) is mine. With the help of my friend with the grey Skyline, I lowered it yesterday so the stance is now a bit better and the handling has been improved through the really tight stuff! :)
View full (original) size for optimum quality.
Image digitally blended using at least 3 images as the light was awful at this time of day (early morning). Blending done using Enfuse LR plugin to begin with, then refined manually in Photoshop where necessary.
View full (original) size for optimum quality.
I should upgrade my Graphire 2. These new wireless pen tablets look really nice. From Kuva&Kamera 2012.
Finally, completed the sketch, shading, highlighting, colouring, and eye effects of my protoss zealot. Check the rest of my work for a progressive look.
Drawn and painted entirely in Photoshop using a Wacom Intuos 3.
1 x Mac Pro
2 x Samsung 244T (24") Monitors
2 x Yamaha HS50M Studio Moniors
1 x Yamaha HS80W Studio Subwoofer
1 x Wacom Intuos 3 Graphics Tablet
1 x Wii Remote
+ Other misc stuff
Malus fusca - Pacific crabapple
Hi! It's been a while. I will begin a more casual posting habit, as my creative mind is being occupied mostly by work right now. It's a good thing - but I will need to shift my efforts around every once in a while to keep going on this project and others! I believe this is some sort of crabapple - possibly the pacific crabapple, Malus fusca. Again, it took me a long time to figure out what this was, as the fruit was unripe and I had no better photos than my reference photo for this art. I was quite sure it was in the Rosaceae family by the leaf structure and fruit, but that does not narrow it down by much! However, looking closer I recognized that the fruit were probably pomes as opposed to drupes (don't ask me to define those) due to the brown fluffy bits at the ends. Pomes = apples I think.
This is my first digital art in this project, and while I mean to stick mostly to traditional media, this turned out quite well! I basically traced my reference photo, but took some liberty with the leaf texture. Some of the benefits of digital drawing are infinite colours, layers, effects, and undo. These allow for more detail and control of the "feeling" of the art, although expertise in other media would permit that just as well.
🎨 Nelson Spies :: Krita digital drawing with Wacom Intuos pen tablet
nothing artistic here, this is just a test.
- 1/15 sec with only right hand, Mega O.I.S. on this 45mm macro lens worked pretty good.
- Strobist info, illuminated by iPhone screen from above.
- Shot at ISO 1600 on GF1 + Noise reduction in LR3 beta2
- My Wacom pen look terrible
Camera: Nikon D300
Lens: Tokina 11-16mm f/2.8 AT-X
Filters: Hoya R72 IR filter (77mm)
Focal Length: at 11mm
Exposure: Bulb/ 1.7 sec
Aperture: f/2.8
WB: Preset
ISO Speed: 200
Tripod: Manfrotto
Ballhead: Manfrotto
Remote Cord/Release: MC-DC1 Remote Release Cord (1 meter)
Location: Bahrain
Dedicated to my Dad.
A magician of nature wandering the forests with his guide keeping watch.
three days worth of work all done in Photoshop with wacom intuos 3 tablet..... critics very welcome as I strive to take my art to the next level..... thanks
the effect I was trying to capture here is that you have to squint or search with your eyes to see the aura or glow of a human and to me this represents what I have on few occasions witnessed...
I have put cargo shorts on to drag this mystical figure into a more modern time i do hope you like it!
Rowing boat waiting for passengers.
I wanted the front boat sharp and the rest blurred, hence f2.8.
This was the first edit test with the Wacom Intuos 4.
I had just watched a great series of videos called the "Symphony of Science" on YouTube and was inspired to work a little Photoshop Magic.
Original ref image here: apod.nasa.gov/apod/image/9612/sagan_uc_big.jpg
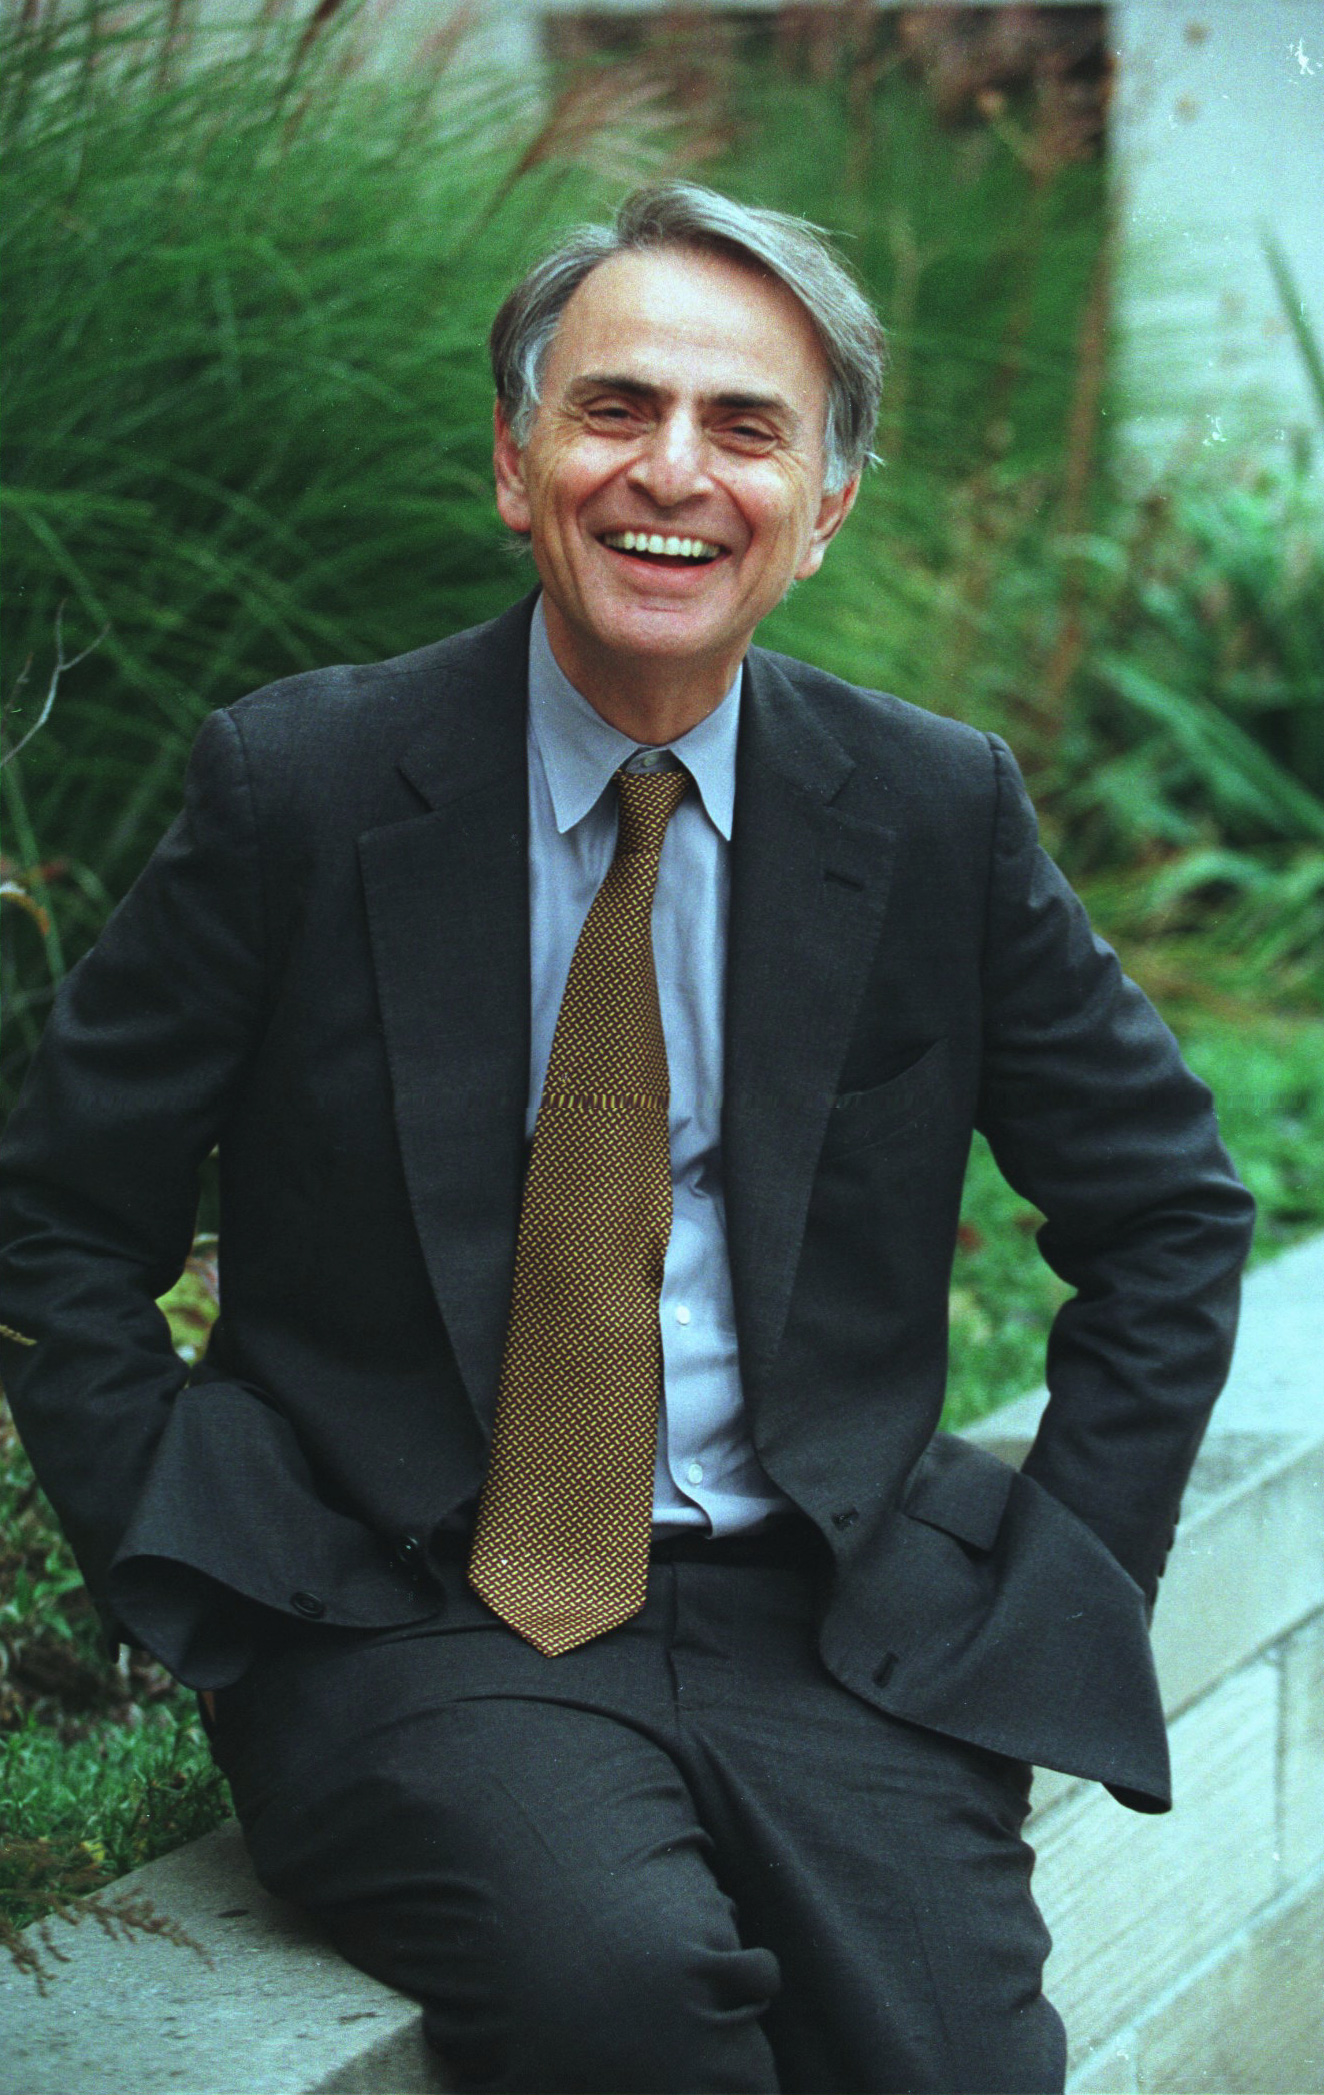
Created in about 3 hours(stolen from homework time) in PS CS4 with a Wacom Intuos 3
View a larger version here: mrechs.deviantart.com/art/In-order-to-make-Carl-Sagan-153...
A recent figurative piece. Hand drawn and rendered in Photoshop using Wacom Intuos pen tablet.
Click here to see my process in creating digital paintings.For even more tutorials, check out the new blog: www.blog.freshdesigner.com
Have I mentioned how much I love my Wacom Intuos4 tablet? :)
This is the grip pen with the included base. Elegant, I think.
Port Willunga Jetty, Port Willunga, South Australia.
This is a digital blend of 5 images. Initial blend done with Enfuse, then further manual blending and finishing done in Photoshop.
Image digitally blended using at least 3 images as the light was awful at this time of day (early morning). Blending done using Enfuse LR plugin to begin with, then refined manually in Photoshop where necessary.
View full (original) size for optimum quality.